xorkee app for Ubuntu
Installation
xorkee for Ubuntu can be installed on Ubuntu systems running version 16 or above. This is the first version that supports GTK 3.0 that is extensively used in xorkee for various display options.
- Download ‘xorkee for Ubuntu’ from the downloads page.
- In your system, navigate to the directory to which it is downloaded (it is usually the downloads directory).
- The installer file is a zip archive. To unzip, right-click on the archive and select ‘Extract Here’ in the context menu. The xorkeeInstaller will be extracted in the same location as the zipped file.
- Double click on xorkeeInstaller executable or Right click and select ‘Run’.
- xorkee Installation dialog appears.
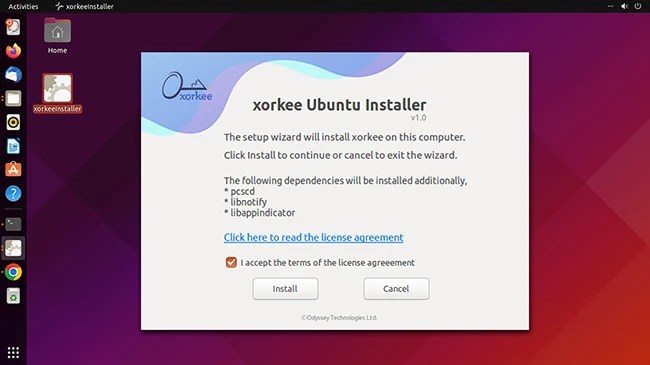
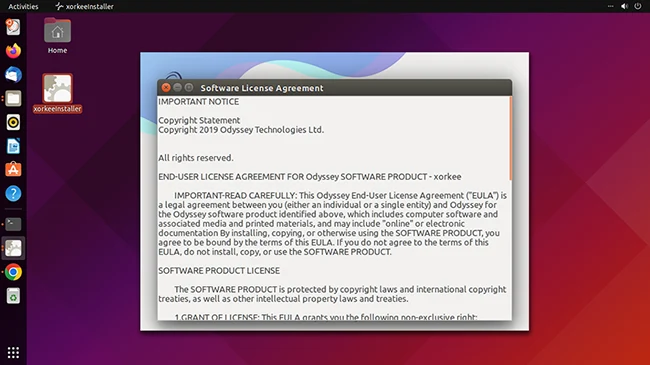
- Click on the ‘license agreement’ link to read the software license.
- Click on ‘Install’.
- This is for syncing the versions of the locally installed OS components with those in the Ubuntu repository. This is not a prompt from the installer but from your operating system.
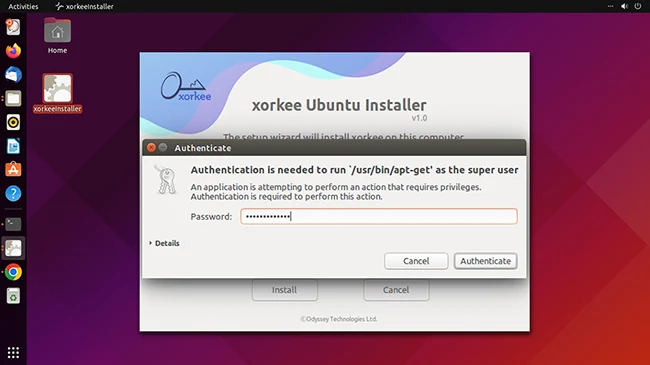
- Your operating system prompts for superuser password again for downloading dependencies required for xorkee application.

- Installation completed.

- xorkee menu icon appears on the menu bar.

- You can now connect your DSC token and start using xorkee application.
If you need further information on the process, refer to the installation videos.
Uninstallation
- Double click on xorkeeInstaller executable or Right click and select ‘Run’.
- If the installer has same version as already installed, the dialog appears with ‘Uninstall‘ option.
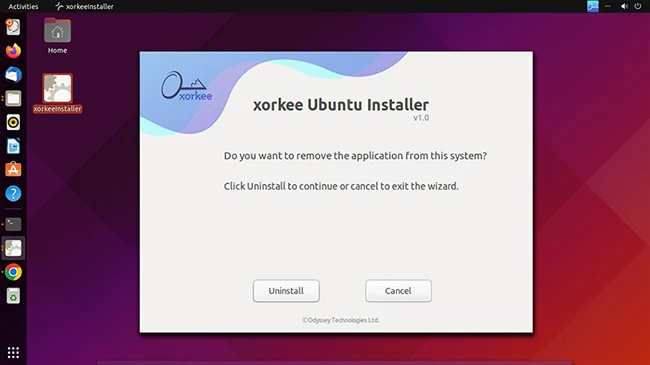
- Click on ‘Uninstall’.
- Provide superuser(Administrator) password for uninstalling.

- xorkee is removed from the system.

Update
- Double click on xorkeeInstaller executable or Right click and select ‘Run’.
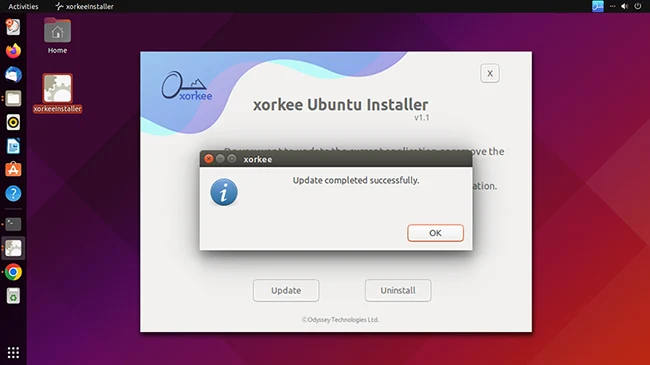
- If the version in the system is lower than the version of the installer, the dialog appears with ‘Update’ and ‘Uninstall’ options.
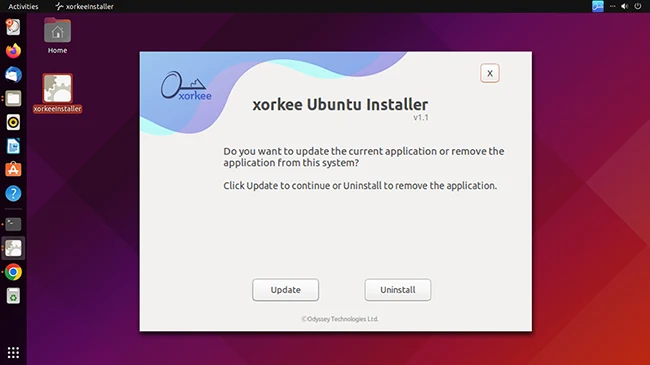
- Click on Update.
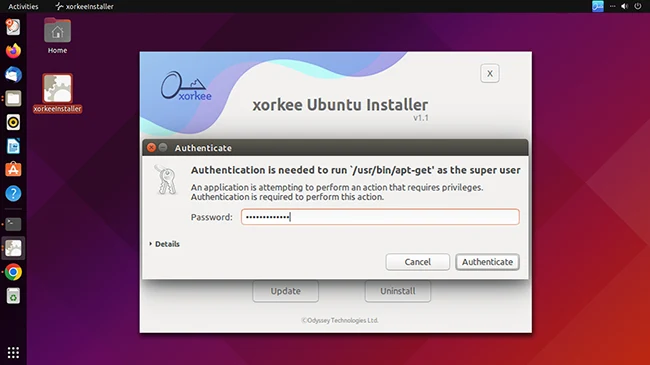
- Provide superuser(Administrator) password for update. This is a prompt not from the installer but from your operating system.
- xorkee update completes.